Old Basketball Court Out, New Garage Slab Down in Sturgis
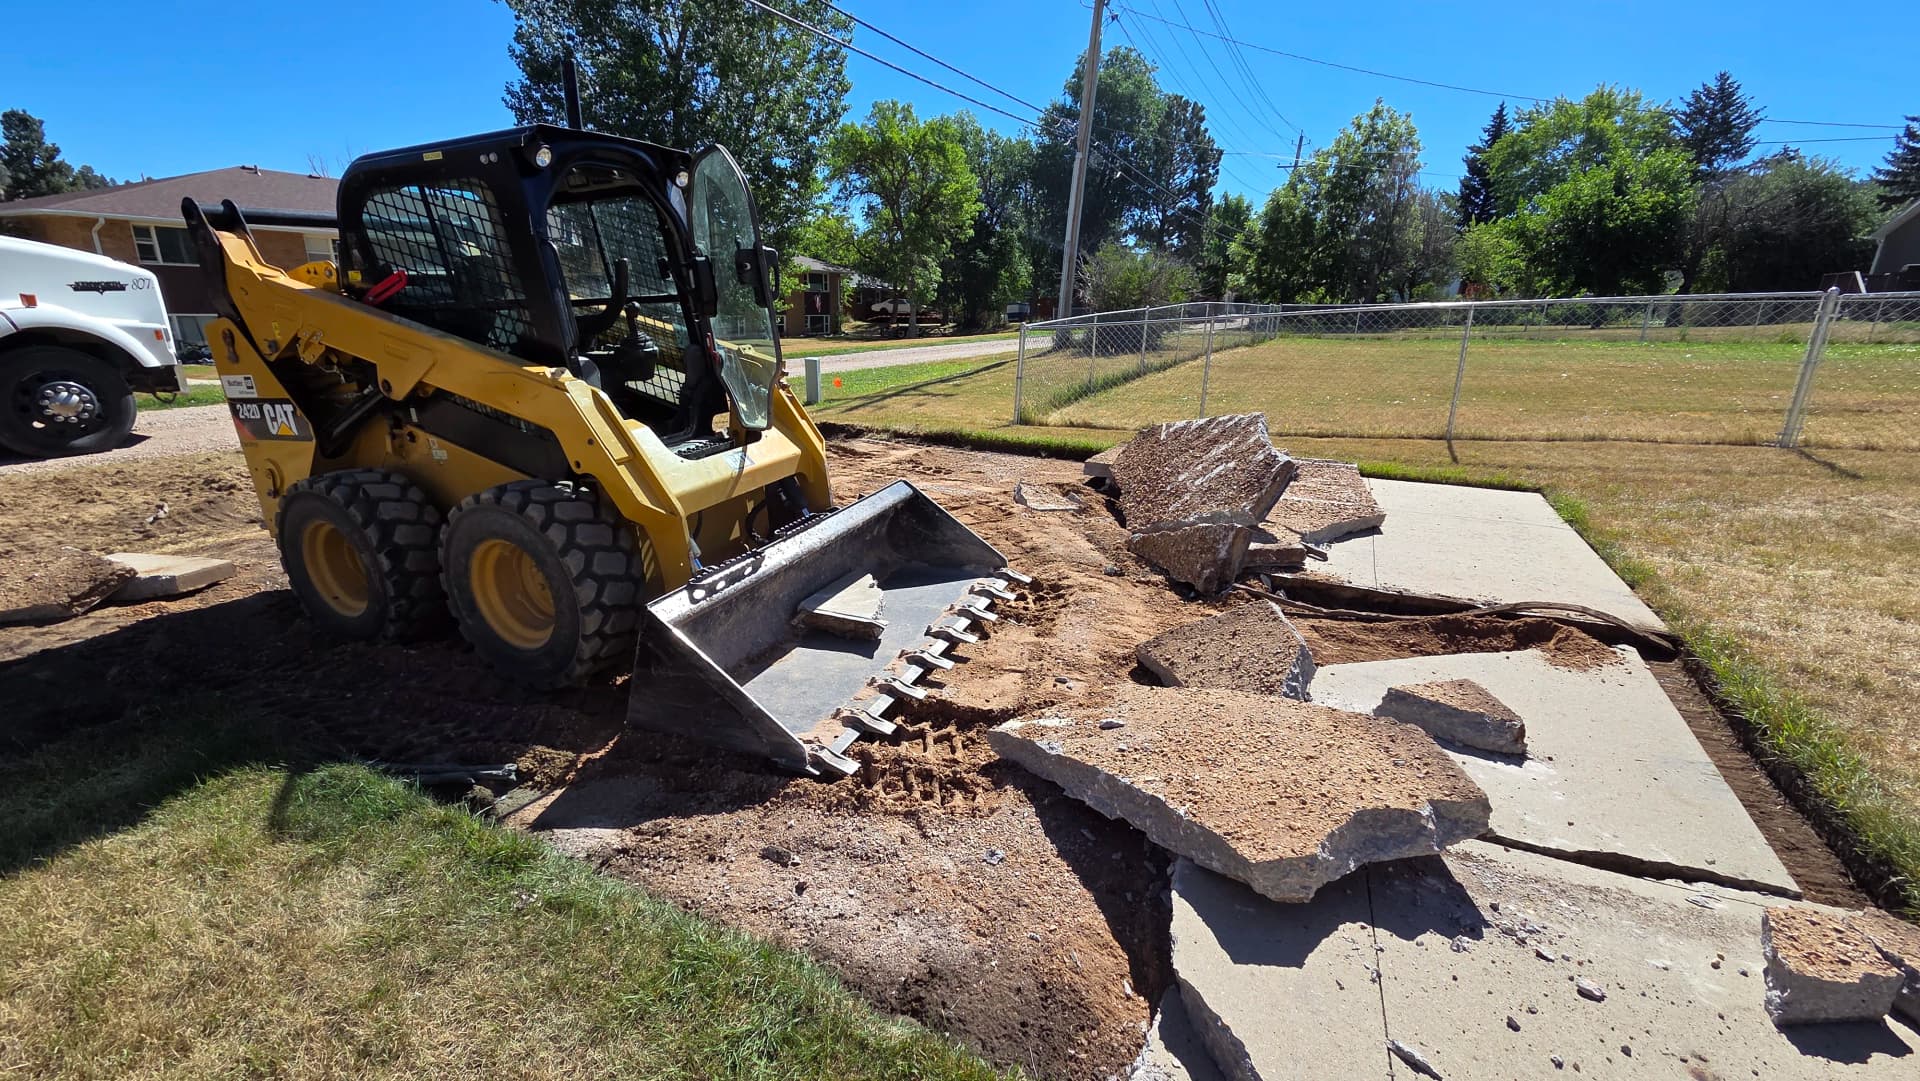
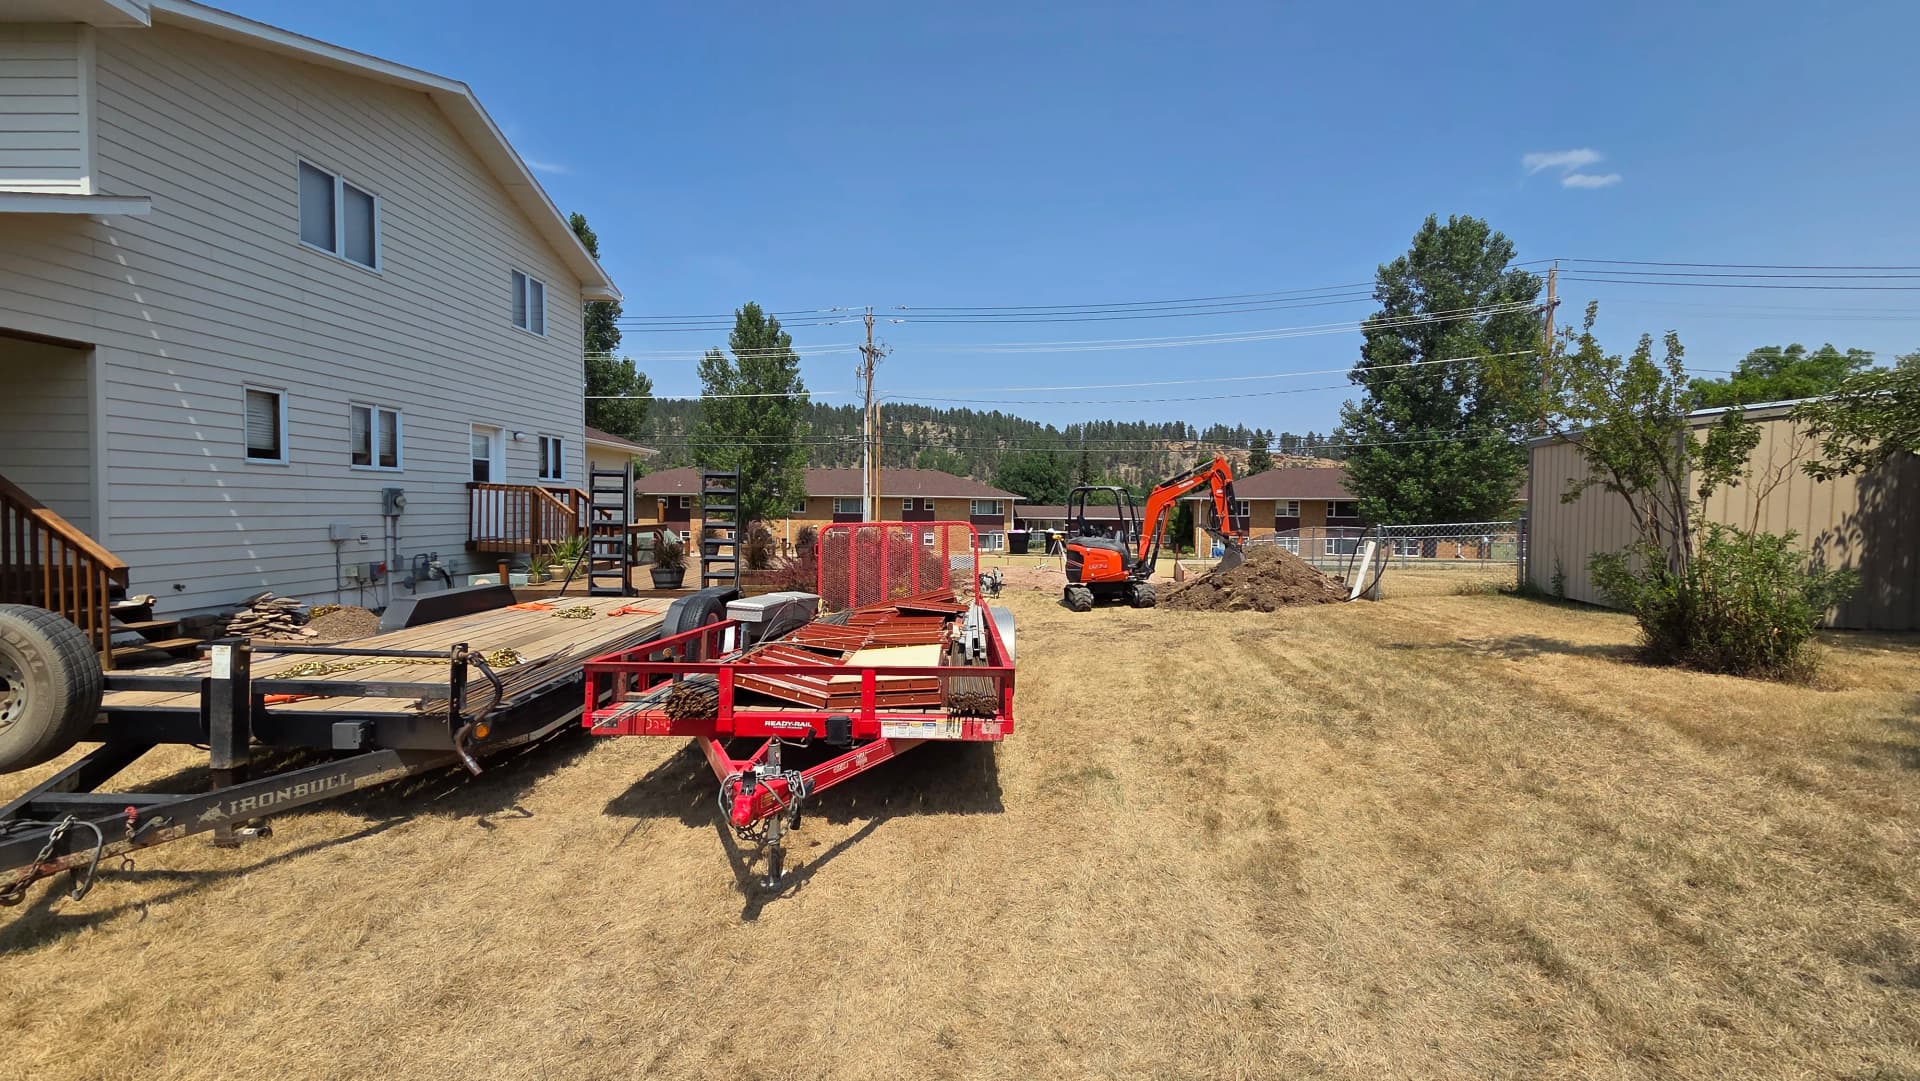
This one started with concrete demolition. The old basketball court had to come out completely before we could even think about putting anything new down. We brought in the skid steer, broke it up, and cleared the site clean. No shortcuts on the removal side - you have to start with a blank slate if you want the new work to hold up long-term.
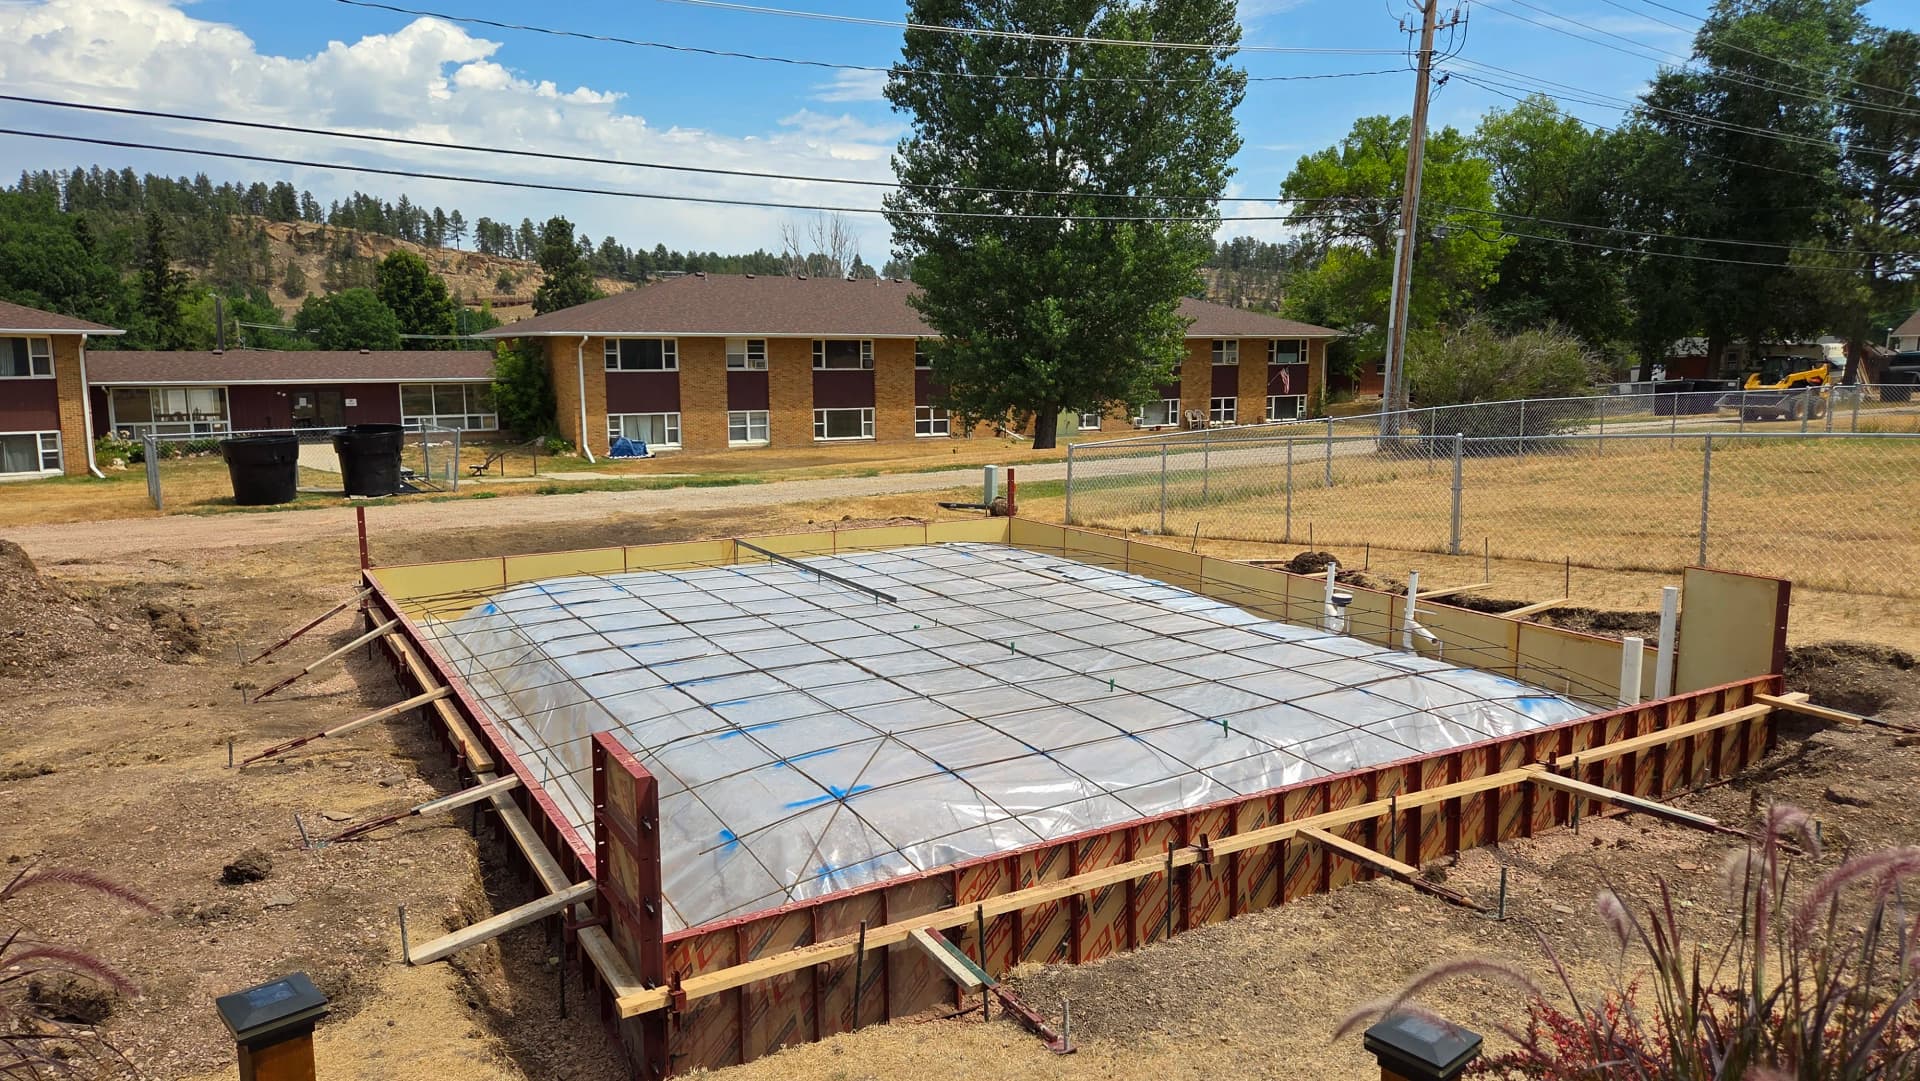
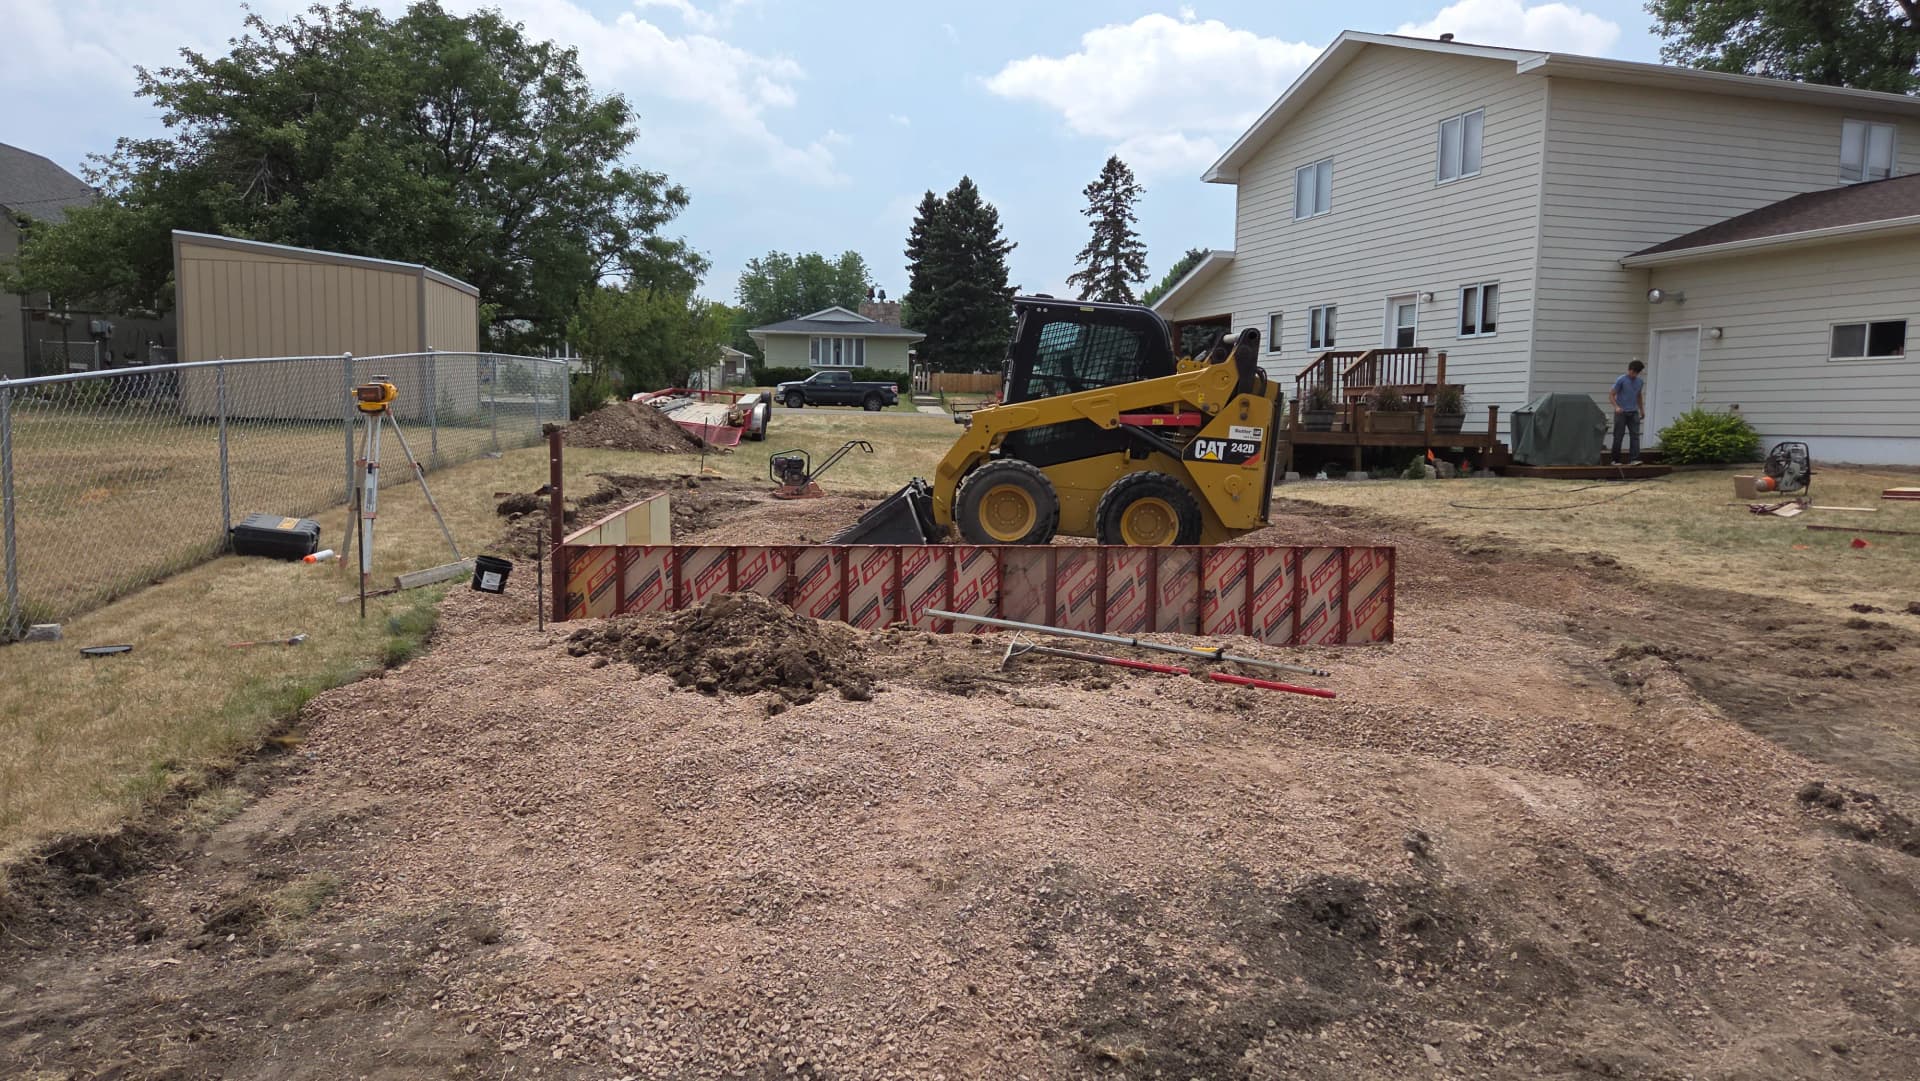
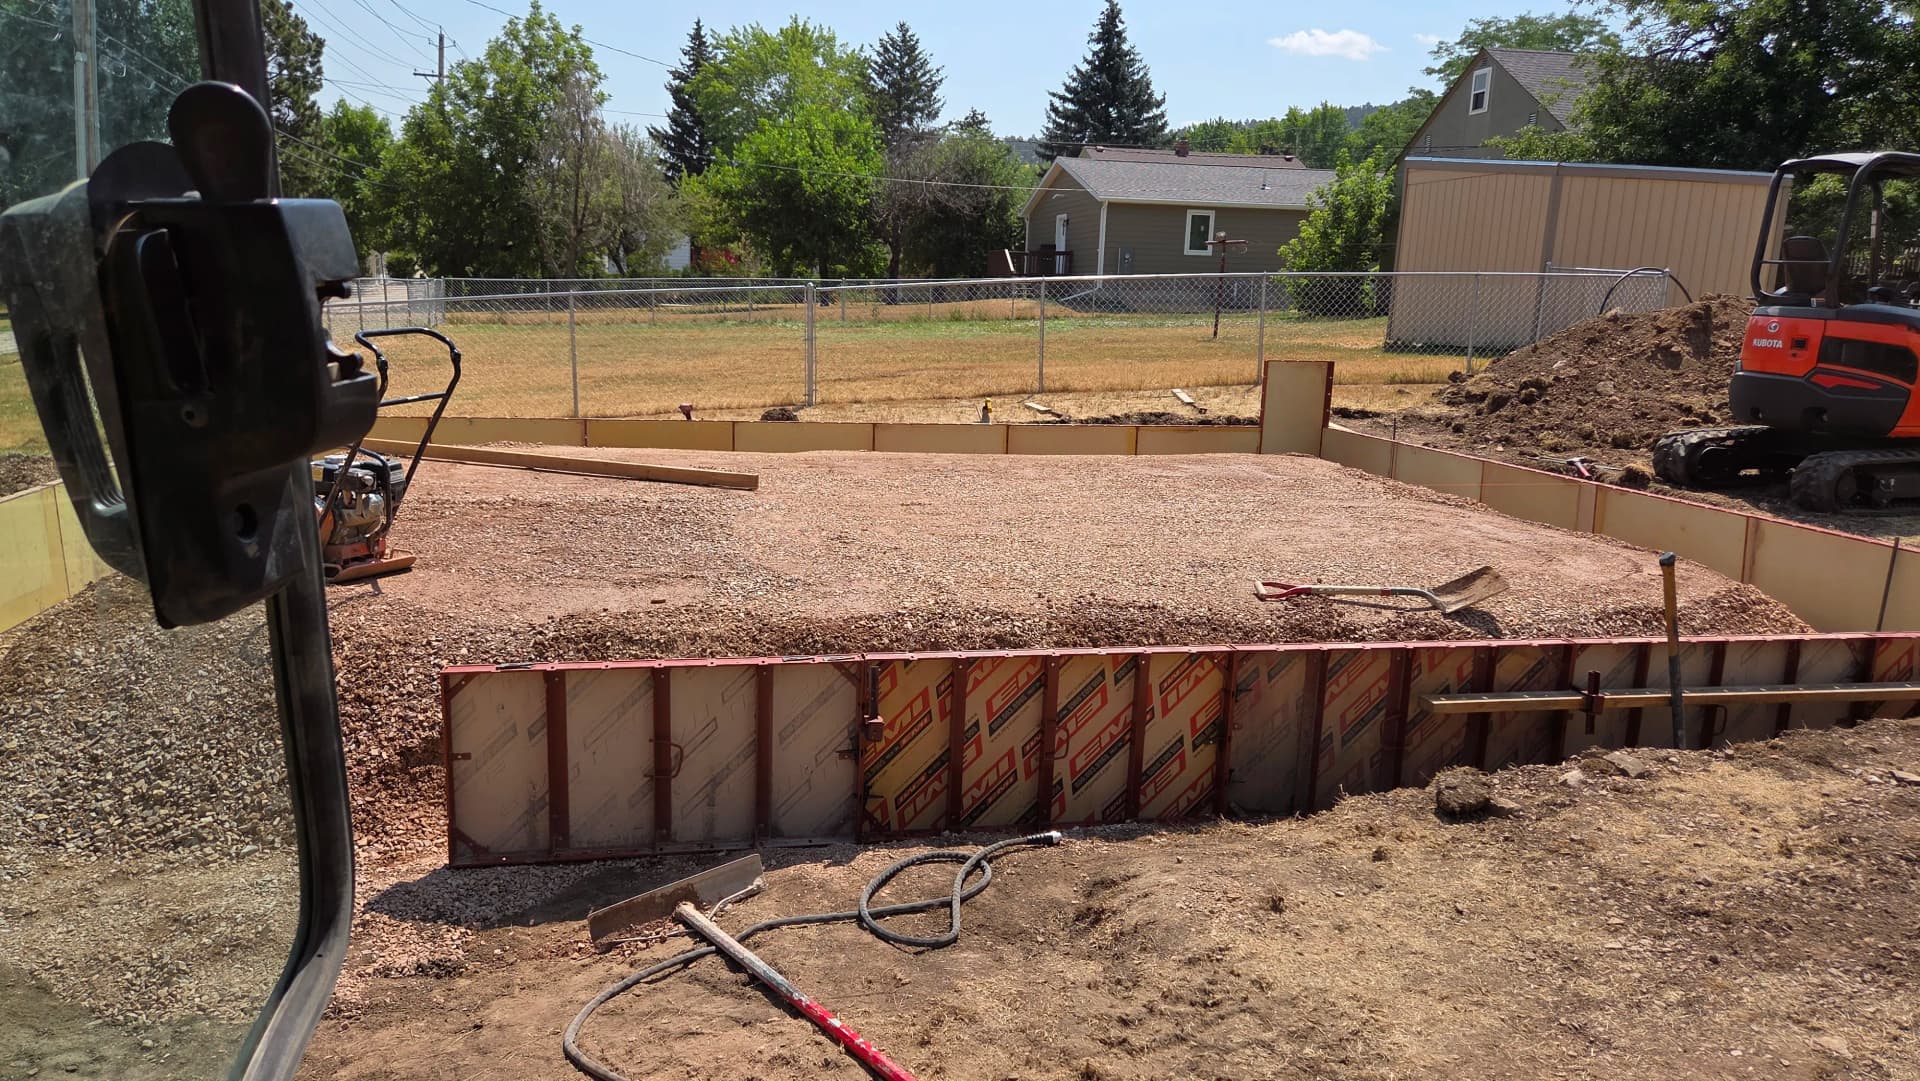
Once the site was cleared, we got into the real prep work. Gravel base compacted down, forms set, and the thickened edge dug out to a full 24 inches around the perimeter. That thickened edge is what separates a slab that lasts from one that cracks and shifts at the edges over time. It's basically a built-in grade beam that distributes the load from the walls of the garage down into the ground.
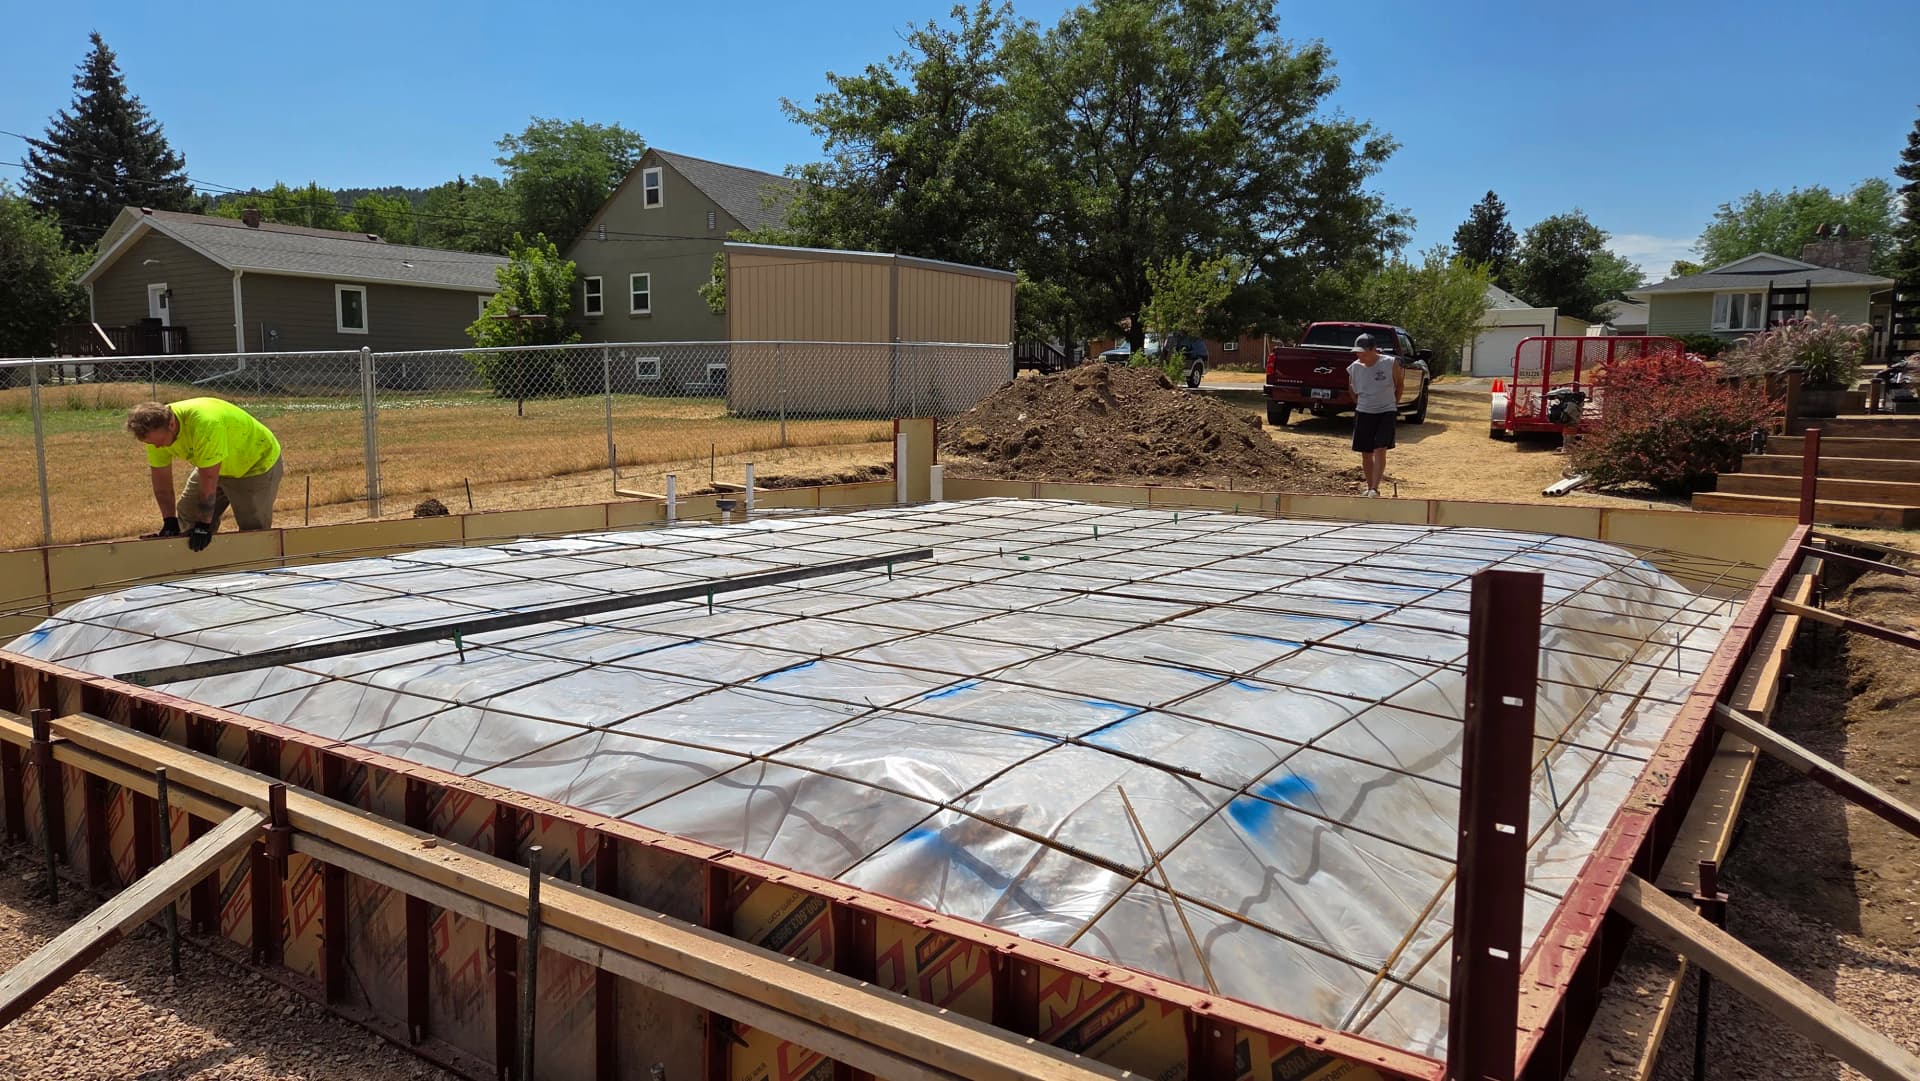
Before any concrete went in, we laid down a vapor barrier across the entire floor area and set the rebar grid on top of it. The vapor barrier keeps ground moisture from wicking up through the slab - a big deal for a garage where you're storing vehicles, tools, or anything else you don't want sitting in a damp environment. The rebar ties everything together so the slab moves as one unit instead of cracking apart in sections.
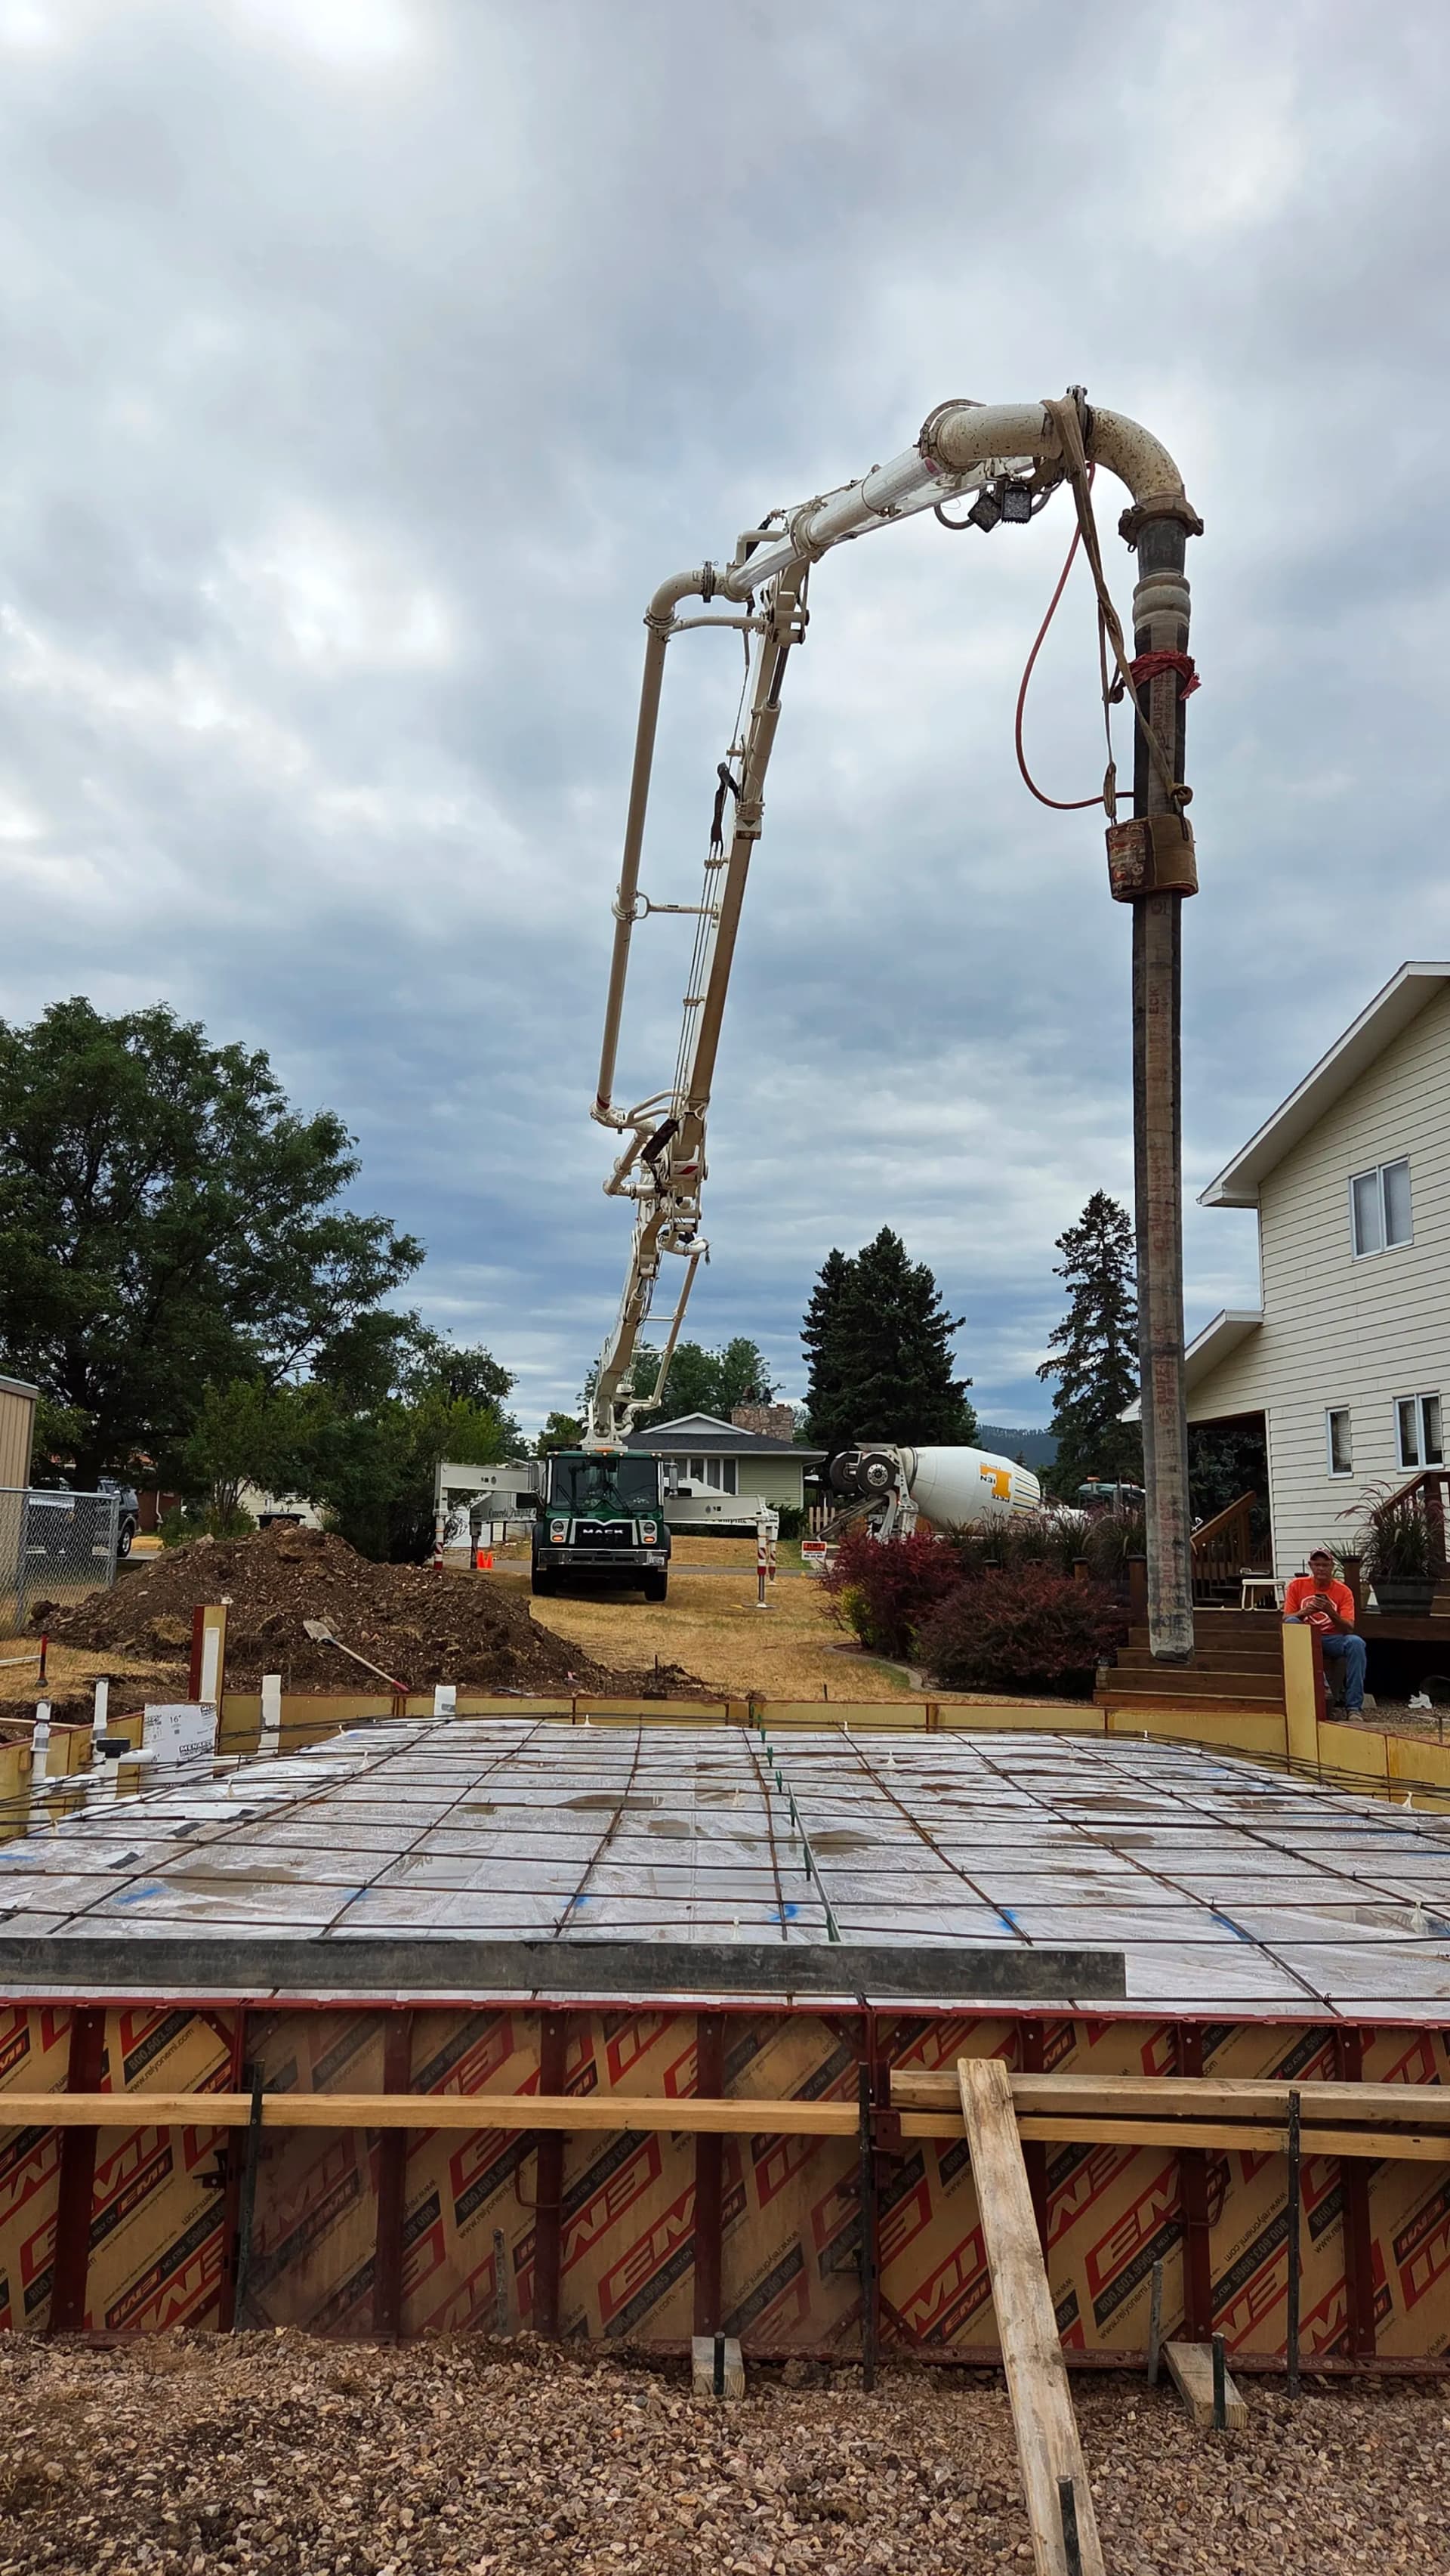
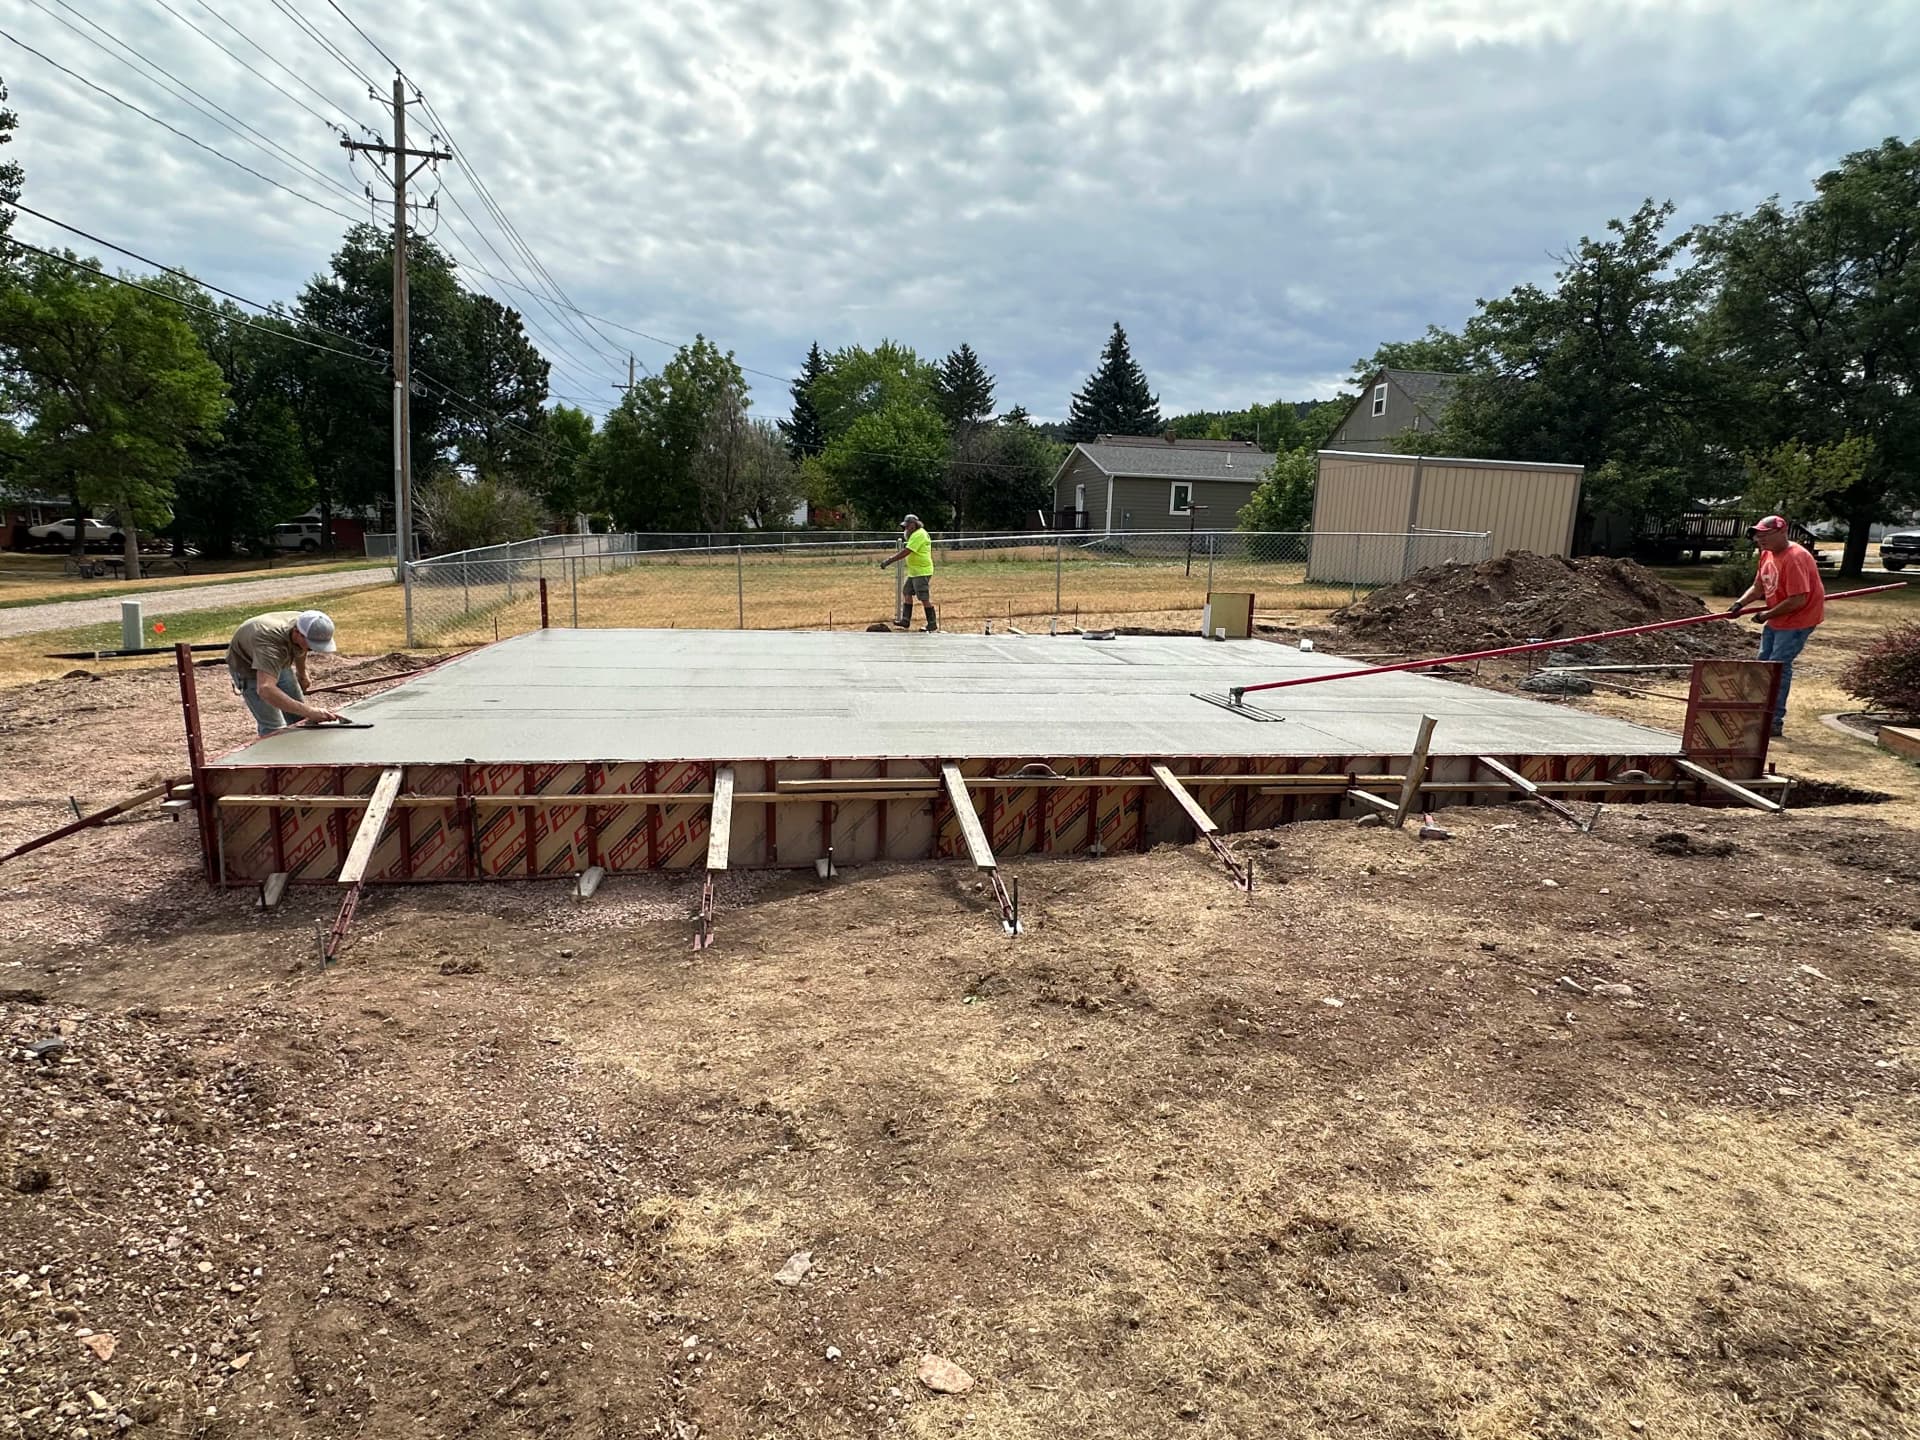
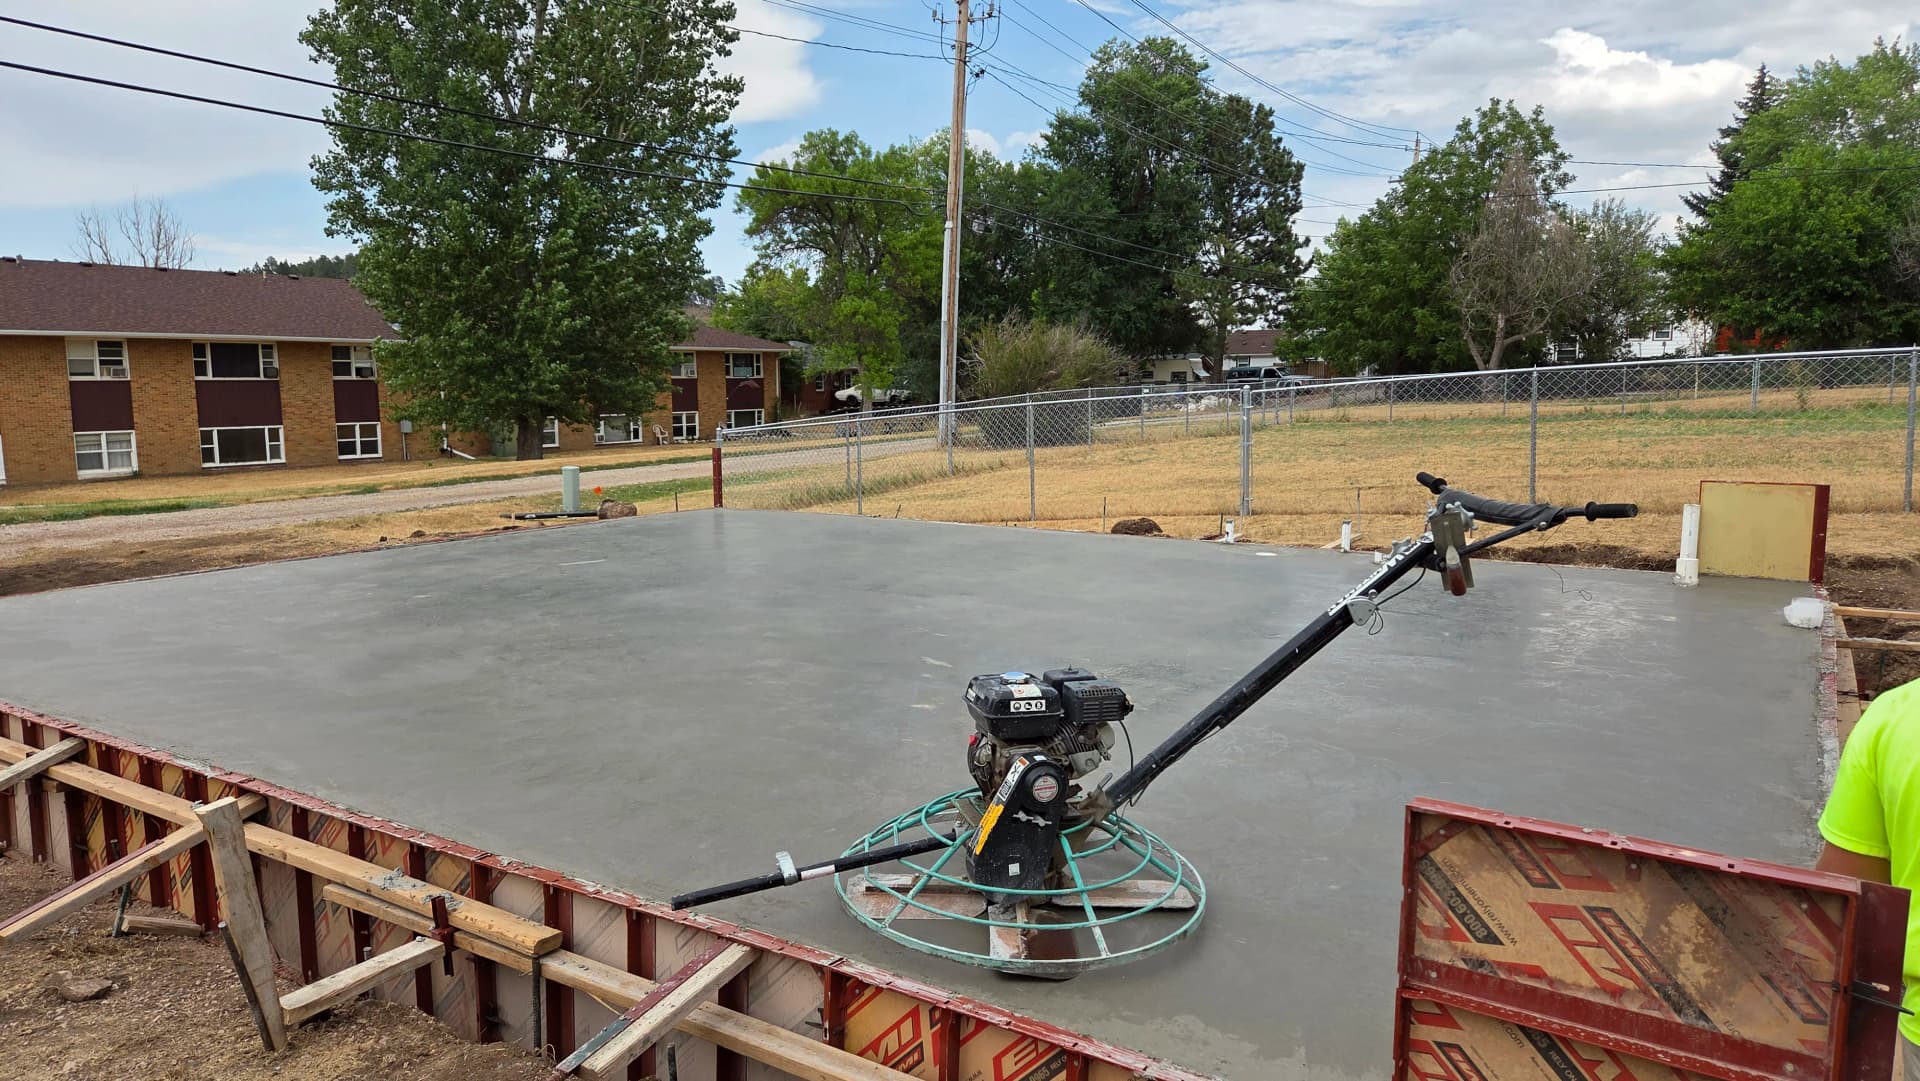
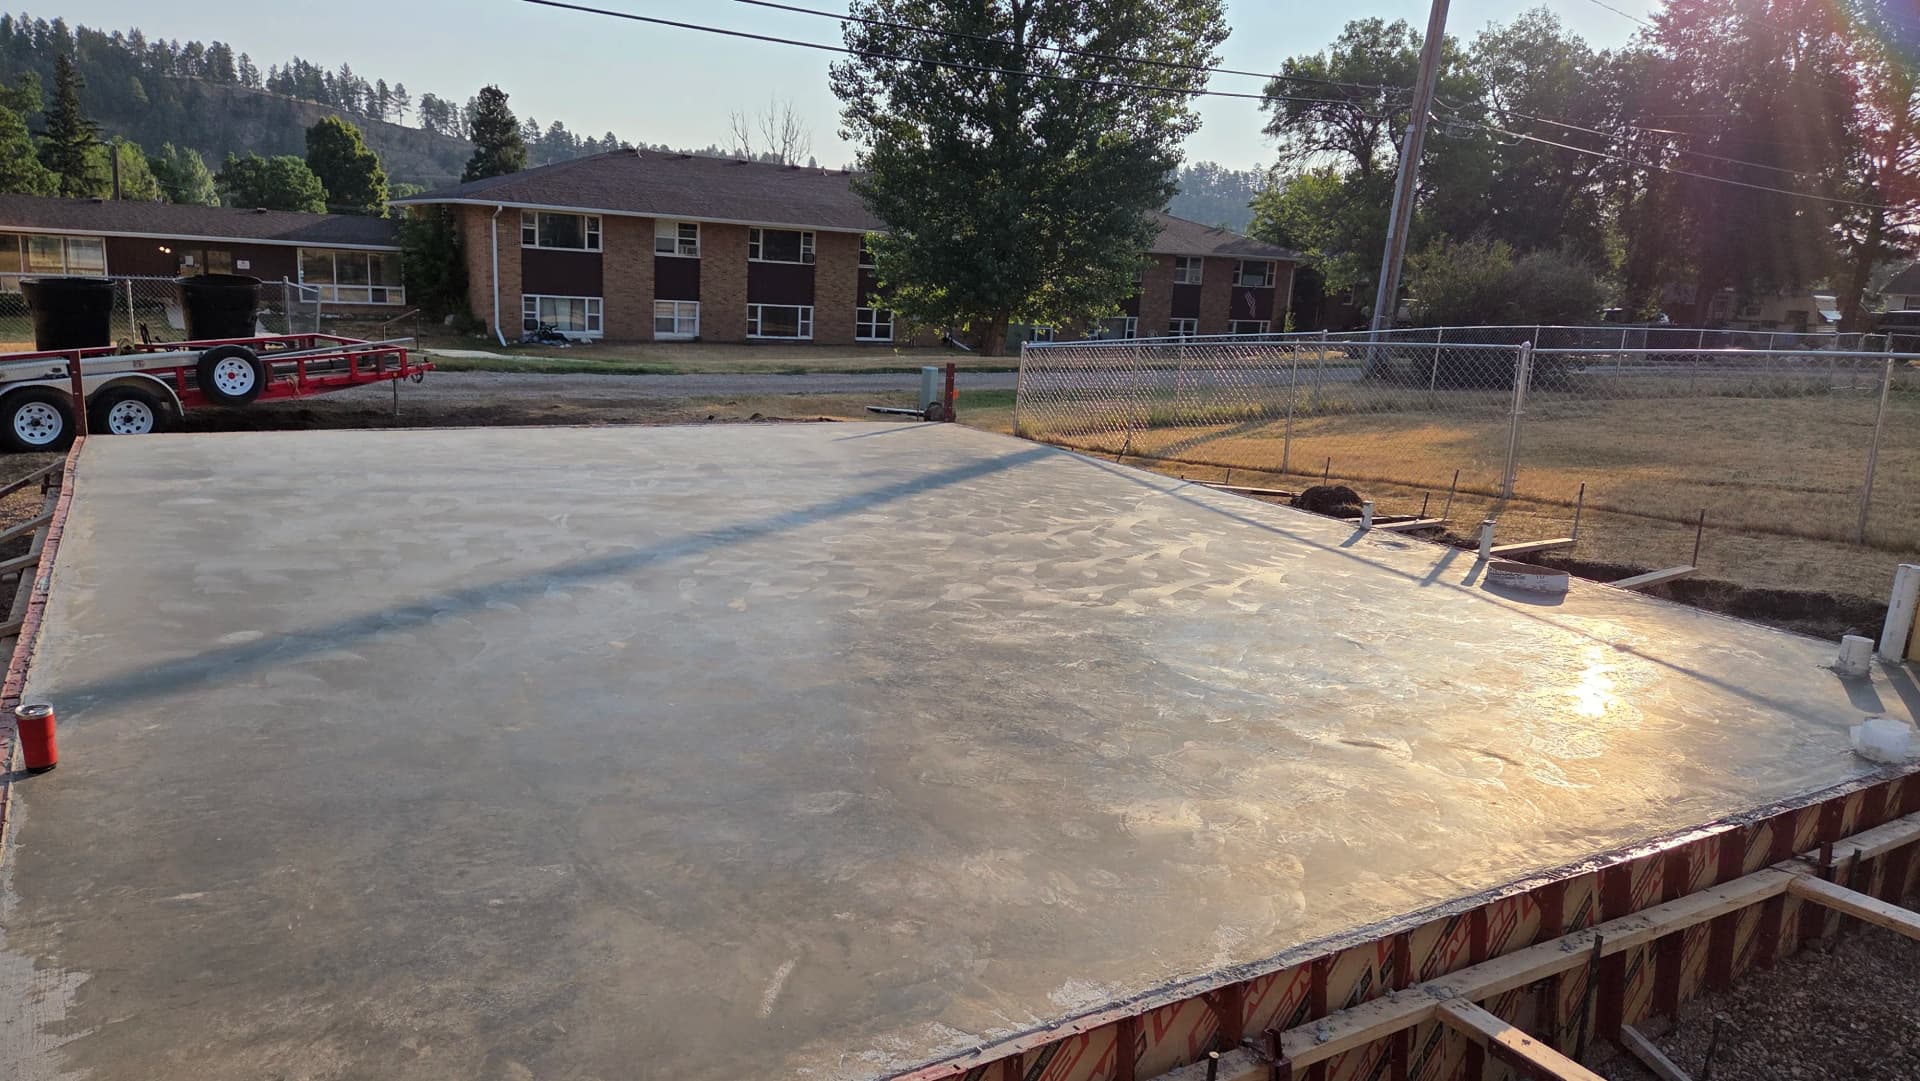
Pour day, we used a boom pump to place the concrete accurately across the whole form. Once it was down, the crew got to work floating and finishing the surface. A power trowel finished things off smooth and tight. What you end up with is a slab that's built right from the ground up - not just a flat piece of concrete, but a properly engineered foundation ready to carry a garage structure for decades.
The prep work on a project like this is where most of the real work happens. Anyone can pour concrete. Getting the base compacted right, the forms set true, the vapor barrier sealed, and the rebar placed correctly - that's what actually determines how the slab performs years down the road. This one in Sturgis was done right, start to finish.